

WebSocket là gì?
WebSocket cho phép giao tiếp hai chiều trong thời gian thực qua web. WebSocket có thể được chạy cùng với một HTTP server bình thường. Có thể nhấp vào một nút trong trình duyệt web và bật GPIO trên Raspberry Pi để điều khiển bật tắt đèn.
Bài viết này sẽ giới thiệu cách thiết lập một web server với WebSocket, tạo giao diện điều khiển trên trình duyệt web để tương tác bật tắt đèn LED.
Chuẩn bị
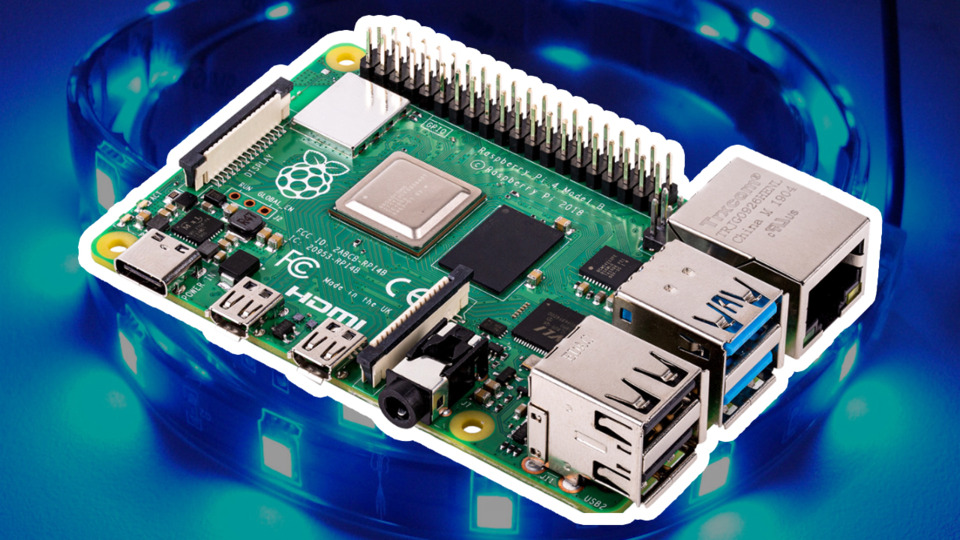
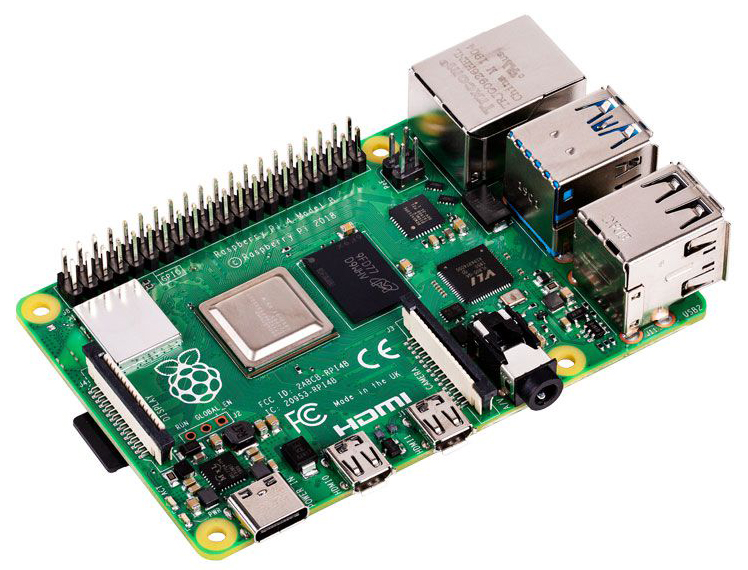
- 1 Raspberry Pi 4 Model B
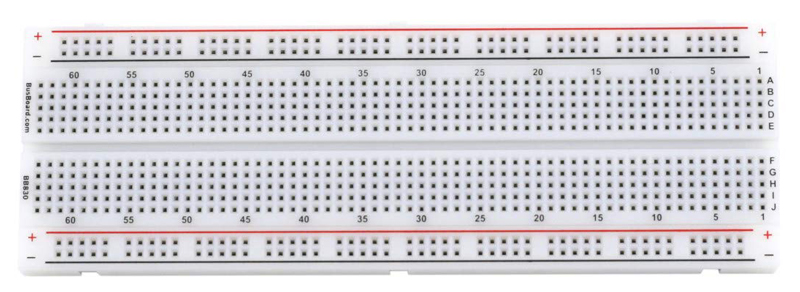
- 1 Breadboard
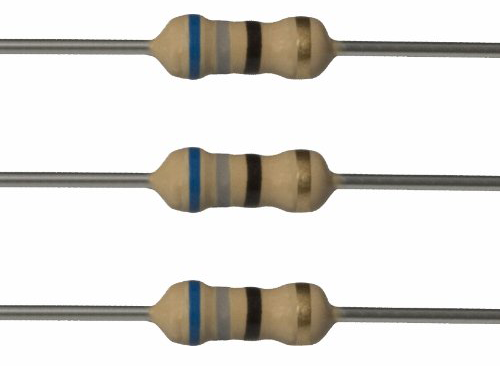
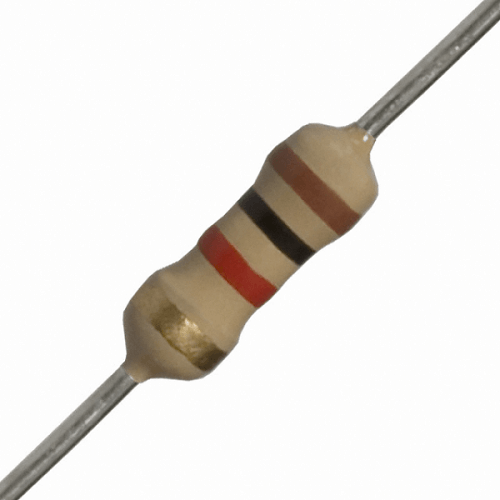
- 1 điện trở 68 Ohm
- 1 điện trở 1k Ohm
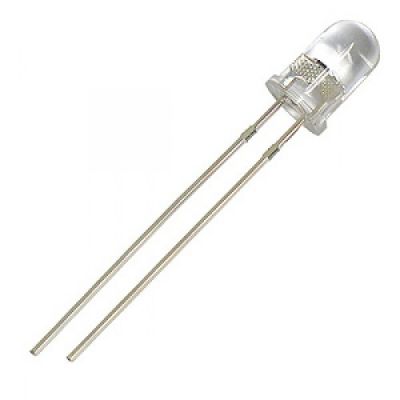
- 1 đèn led
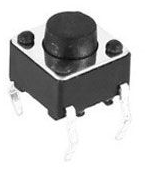
- 1 nút bấm
Raspberry Pi 4 Model B
Breadboard
Điện trở
Đèn led
Nút bấm
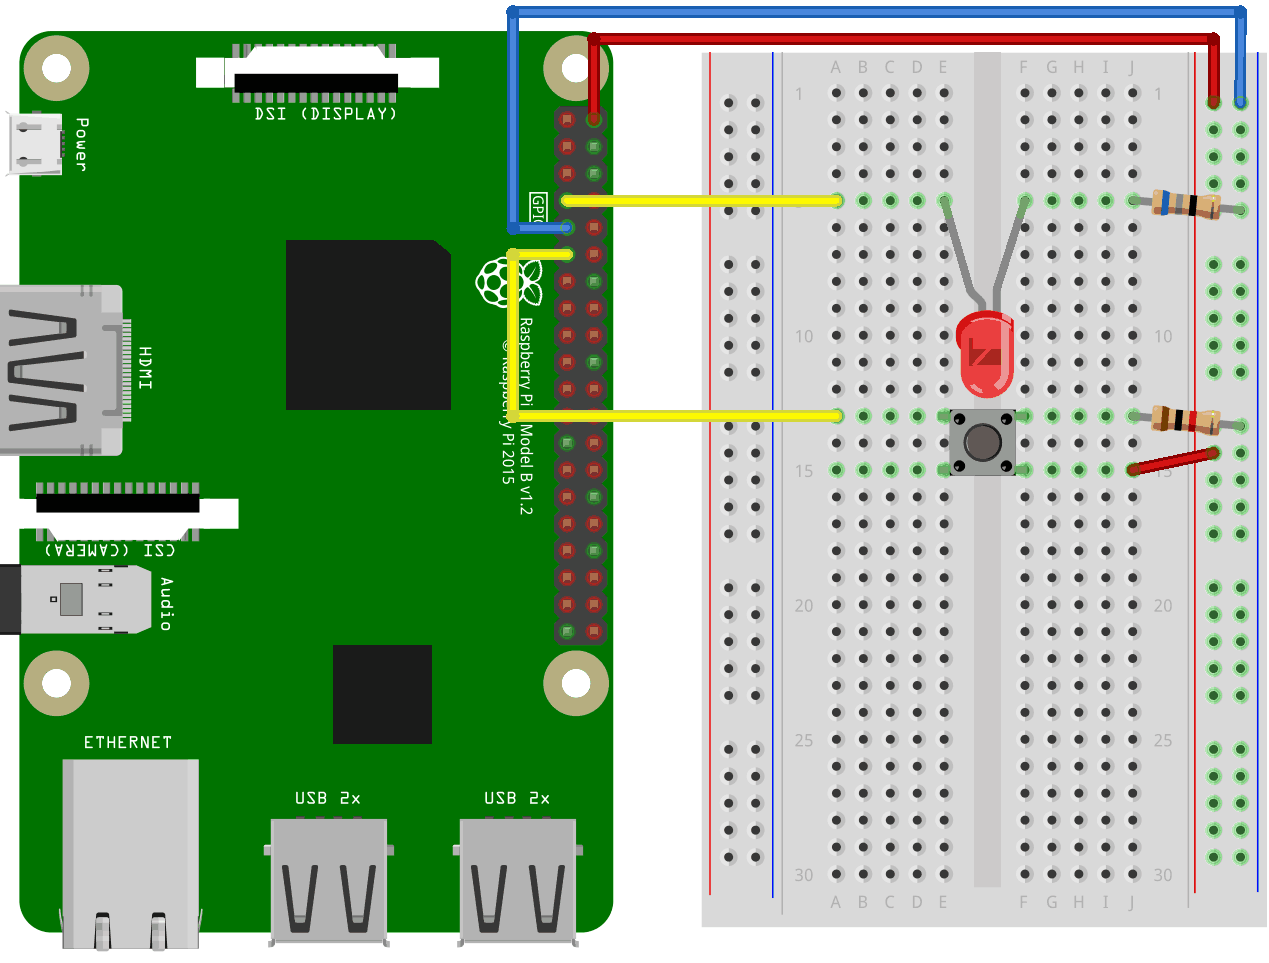
Nối mạch
Thực hiện nối mạch như sơ đồ sau:
Lập trình điều khiển
Tạo thư mục
Tạo thư mục mới chứa đoạn code Node.js để điều khiển đèn.
mkdir node-socket
Đi đến thư mục vừa được tạo.
cd node-socket
Cài đặt Module
Module onoff
Để giao tiếp với GPIO trên Raspberry Pi 4 thông qua Node.js, sử dụng 1 module gọi là onoff.
Cài đặt module onoff bằng npm:
npm install onoff
Module socket.io
npm install socket.io
Tạo file webserver.js để mở file yêu cầu nhận được từ client và trả nội dung về cho client. Nếu xảy ra lỗi, trả về lỗi 404.
nano webserver.js
Code
Webserver
Copy đoạn code sau vào file webserver.js
var http = require('http').createServer(handler);
var fs = require('fs');

http.listen(8080);

function handler (req, res) {
  fs.readFile(__dirname + '/public/index.html', function(err, data) {
    if (err) {
      res.writeHead(404, {'Content-Type': 'text/html'});
      return res.end("404 Not Found");
    }
    res.writeHead(200, {'Content-Type': 'text/html'});
    res.write(data);
    return res.end();
  });
}
Index.html
Tạo file index.html bằng nano với command sau
nano index.html
Copy đoạn code sau vào file index.html
<!DOCTYPE html>
<html>
  <body>
    <h1>Control LED light</h1>
    <input id="light" type="checkbox">LED
  </body>
</html>
Chạy file webserver.js để thấy kết quả
node webserver.js
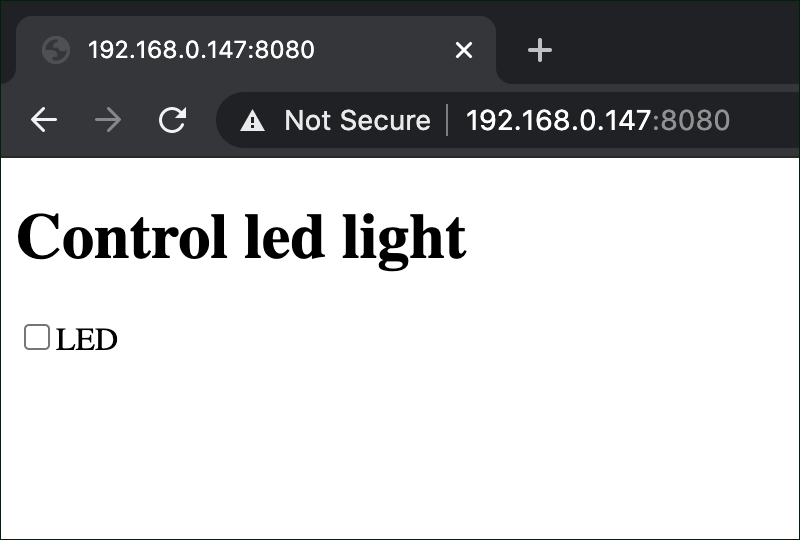
Truy cập vào trình duyệt web theo địa chỉ với định dạng:
Trong đó, [RaspberryPi_IP] là địa chỉ IP của thiết bị Raspberry đang sử dụng.
Tra cứu địa chỉ IP của thiết bị Raspberry Pi bằng lệnh:
hostname -I
Kết quả trả về cho thấy IP của thiết bị.
Ví dụ địa chỉ IP của thiết bị Raspberry đang được sử dụng là 192.168.0.147 nên truy cập vào đường dẫn sau:
WebSocket
Cập nhật lại file Index.html như sau để thêm WebSocket vào trang web.
<!DOCTYPE html>
<html>
<body>

<h1>Control LED light</h1>
<p><input type="checkbox" id="light"></p>

<script src="https://cdnjs.cloudflare.com/ajax/libs/socket.io/2.0.3/socket.io.js"></script> <!-- include socket.io client side script -->
<script>
var socket = io();
window.addEventListener("load", function(){
  var lightbox = document.getElementById("light");
  lightbox.addEventListener("change", function() {
     socket.emit("light", Number(this.checked));
  });
});
socket.on('light', function (data) {
  document.getElementById("light").checked = data;
  socket.emit("light", data);
});
</script>

</body>
</html>
Cập nhật lại file webserver.js như sau:
var http = require('http').createServer(handler);
var fs = require('fs');
var io = require('socket.io')(http)
http.listen(8080);

function handler (req, res) {
  fs.readFile(__dirname + '/index.html', function(err, data) {
      res.writeHead(404, {'Content-Type': 'text/html'});
      return res.end("404 Not Found");
    }
    res.writeHead(200, {'Content-Type': 'text/html'});
    res.write(data);
    return res.end();
  });
}

io.sockets.on('connection', function (socket) {
  var lightvalue = 0;
  socket.on('light', function(data) {
    lightvalue = data;
    if (lightvalue) {
      console.log(lightvalue);
    }
  });
});
Chạy file webserver.js để kiểm tra:
node webserver.js
Truy cập lại vào trang web http://192.168.0.147:8080 để kiểm tra kết quả sau khi đã thêm WebSocket.
Gửi response đến Client
var http = require('http').createServer(handler);
var fs = require('fs');
var io = require('socket.io')(http)
var Gpio = require('onoff').Gpio;
var LED = new Gpio(4, 'out');
var pushButton = new Gpio(17, 'in', 'both');

http.listen(8080);

function handler (req, res) {
  fs.readFile(__dirname + '/index.html', function(err, data) {
    if (err) {
      res.writeHead(404, {'Content-Type': 'text/html'});
      return res.end("404 Not Found");
    }
    res.writeHead(200, {'Content-Type': 'text/html'});
    res.write(data);
    return res.end();
  });
}

io.sockets.on('connection', function (socket) {
  var lightvalue = 0;
  pushButton.watch(function (err, value) {
    if (err) {
      console.error('There was an error', err);
      return;
    }
    lightvalue = value;
    socket.emit('light', lightvalue);
  });
  socket.on('light', function(data) {
    lightvalue = data;
    if (lightvalue != LED.readSync()) {
      LED.writeSync(lightvalue);
    }
  });
});

process.on('SIGINT', function () {
  LED.writeSync(0);
  LED.unexport();
  pushButton.unexport();
  process.exit();
});